How many people does it take to renovate a gallery at the Museum?
Turns out it takes a lot of teamwork from a lot of different people. Eric Singleton, Ph.D., Curator of Ethnology, assembled a group of people and set to work renovating the Native American Gallery at the National Cowboy & Western Heritage Museum.
Singleton’s team worked tirelessly for several weeks to completely update the Native American Gallery. Singleton wanted to more strongly highlight the diversity of Indigenous tribes in the Museum’s collection, update the lighting and create a multi-tiered educational experience for all who visit the space.
Before I show you the amazing job they did, let’s talk a little bit about the history of the Native American Gallery.
History of the Gallery
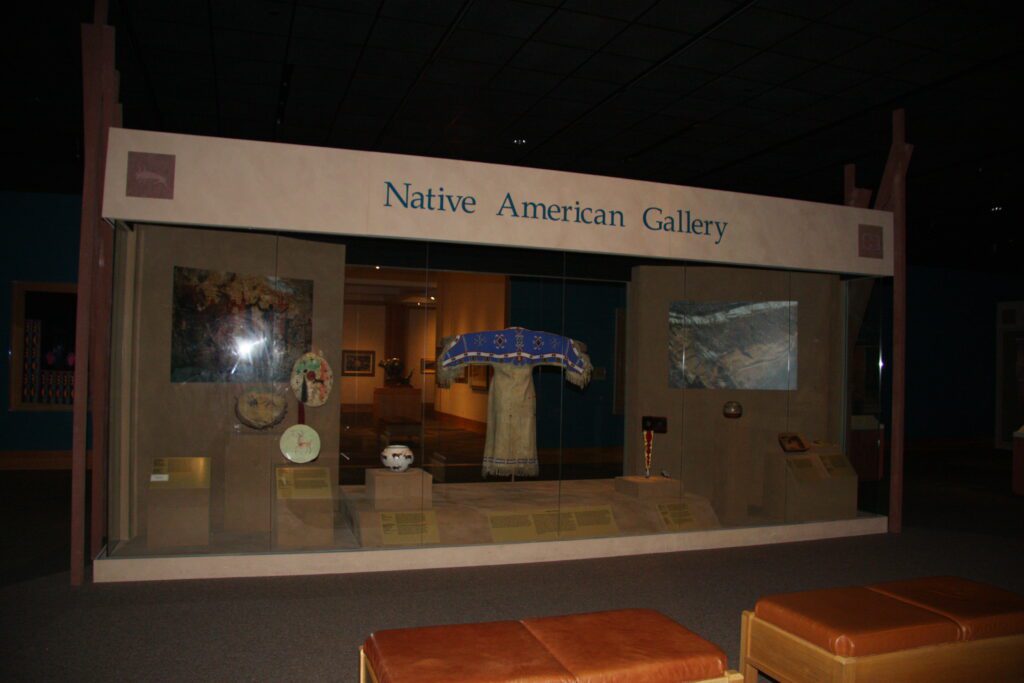
In the mid-90s, the Native American Gallery was added to the Museum. It was estimated to cost $960,000 (Weaver, 163). Quenroe Associates of Boulder, Colorado designed the 4,000 square foot concept (Weaver, 180). Robert T. Stuart funded the building of the Native American Gallery. Stuart was a banker and rancher. He had always supported the Cowboy Hall of Fame (Weaver, 183).
The actual gallery was built by Museum staff overseen by Curator of Anthropology, Michael Leslie. Mounting, lighting and graphics were all installed by the Museum staff members (Weaver, 183-84). It was built near the Silberman Gallery of modern Native American Art. Today, this space is called the Arthur and Shifra Silberman Gallery of Native American Art (Weaver, 180). The Native American Gallery was set to open in November 2000 (Weaver, 184).
Why did the Museum decide to update the gallery again?
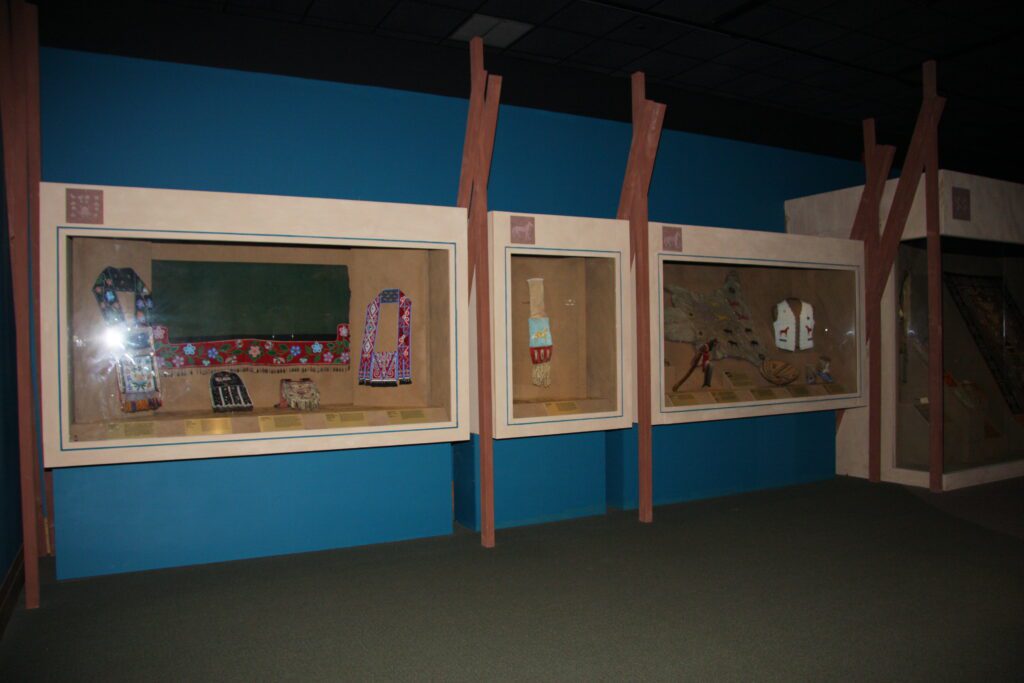
The Native American Gallery was updated once in 2009 with green paint but has remained largely unchanged since (Weaver, 196).
The Museum decided to update the Native American Gallery in 2023 to make the space brighter and to tell even more diverse stories of Indigenous peoples in North America.
Dr. Eric Singleton and his team set to work. They had to move quickly though… they only had a few weeks to completely renovate the Native American Gallery before it had to be reopened. Were they successful? Continue reading to find out!
The Process of Updating the Gallery
I had no idea how much work went into renovating a gallery at the Museum. Singleton and his team let me film them working for several weeks. They were gracious with their time and patiently answered every question I had about the process or what exactly they were doing. I will forever be grateful for this learning opportunity!
Let’s go renovate a gallery…
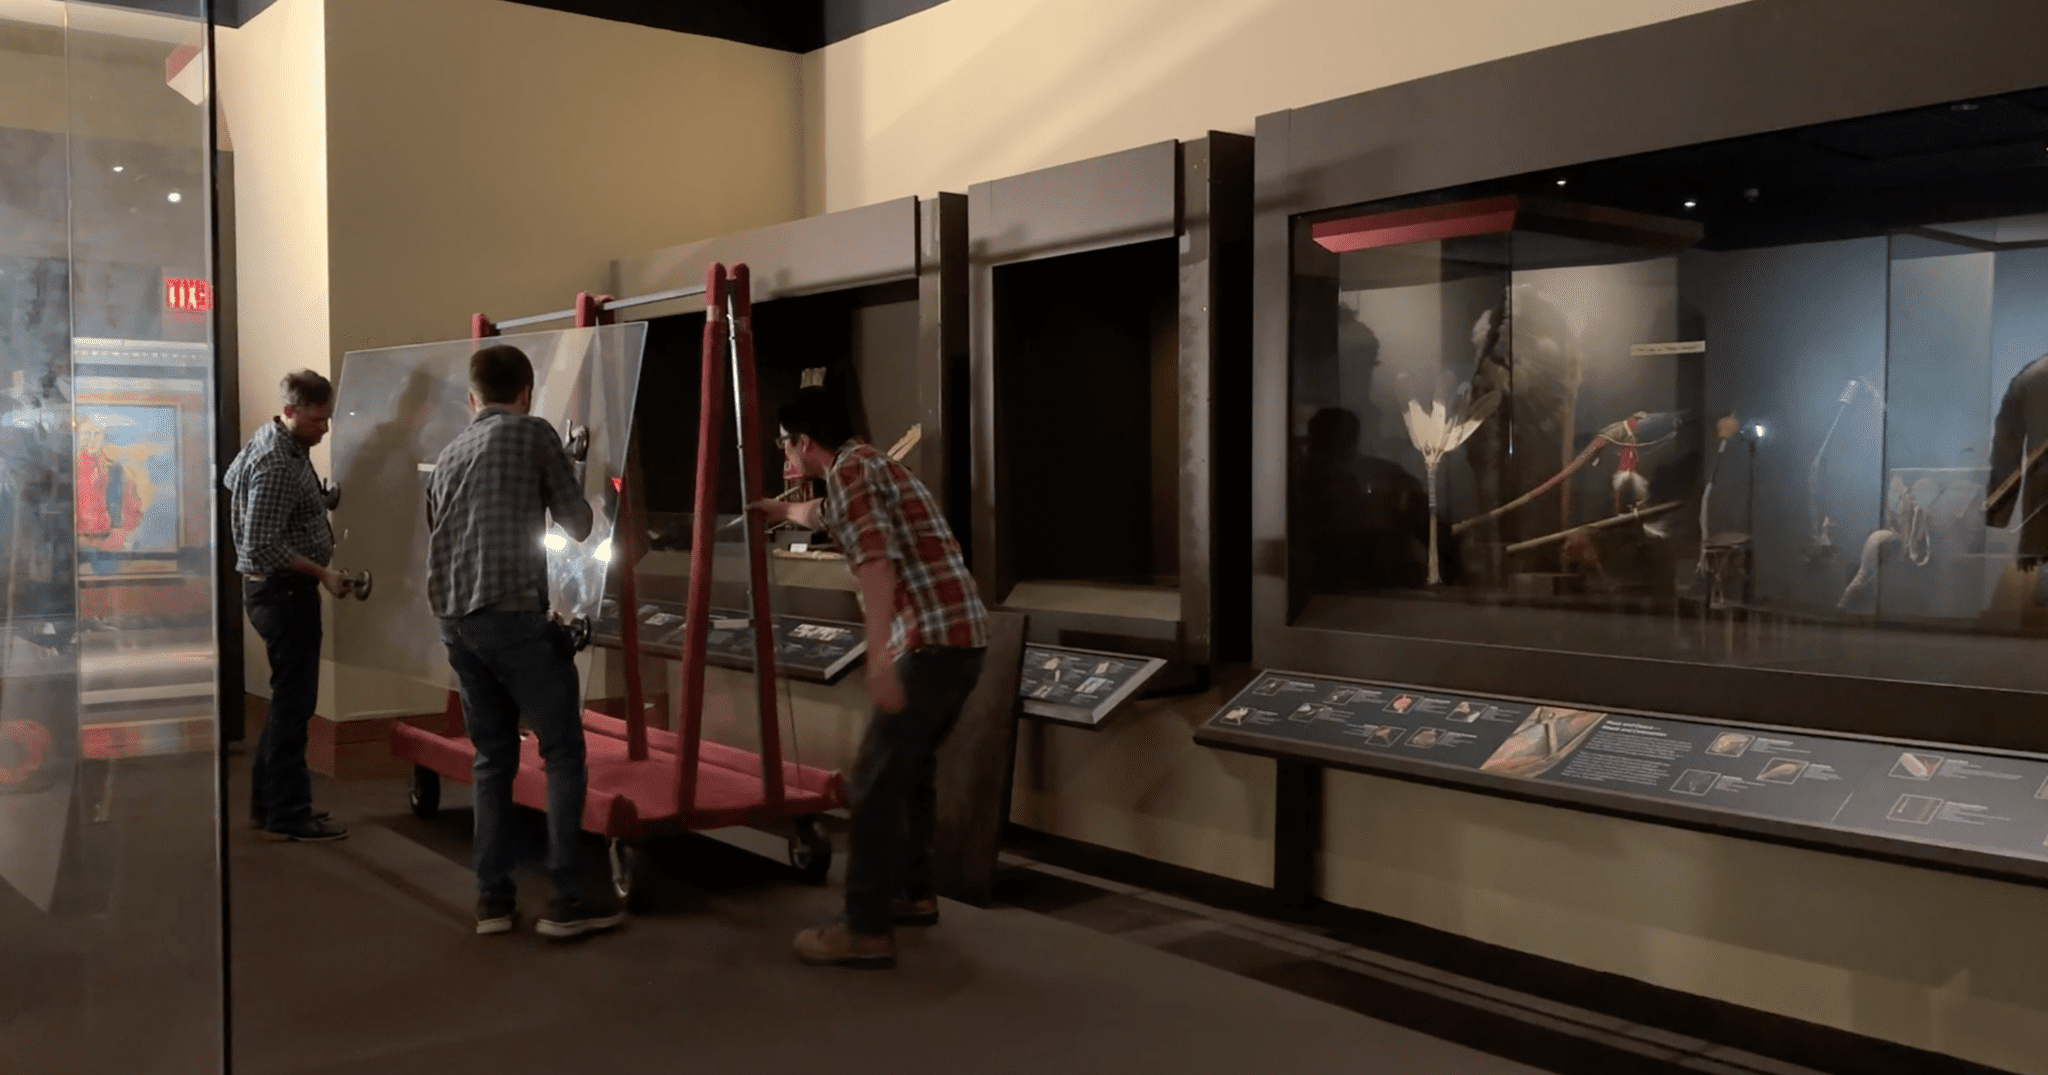
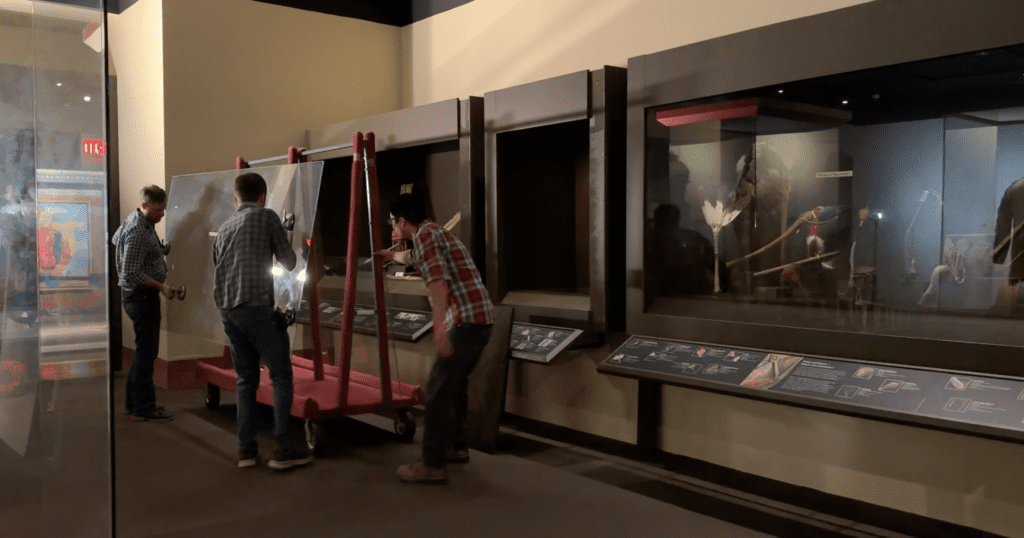
The first thing they had to do was take an A-frame cart upstairs to store the large glass case panels. You remove the glass from the front of the cases by applying suction handles to the glass. This allows you to hold it. Once you have the glass, you place it on the A-frame cart so it can be wheeled out of the way.
Next, they wheeled carpeted carts into the gallery. This is where they placed all the pieces when they took them out of a case. The carpet on the carts helps protect the object. They had to make sure the pieces were secured or lying flat, so they didn’t move around. Some items need extra support – so they were placed in donuts or wedge supports. Multiple people helped move things out of the gallery and into the vault where they were kept safe while construction was going on upstairs.
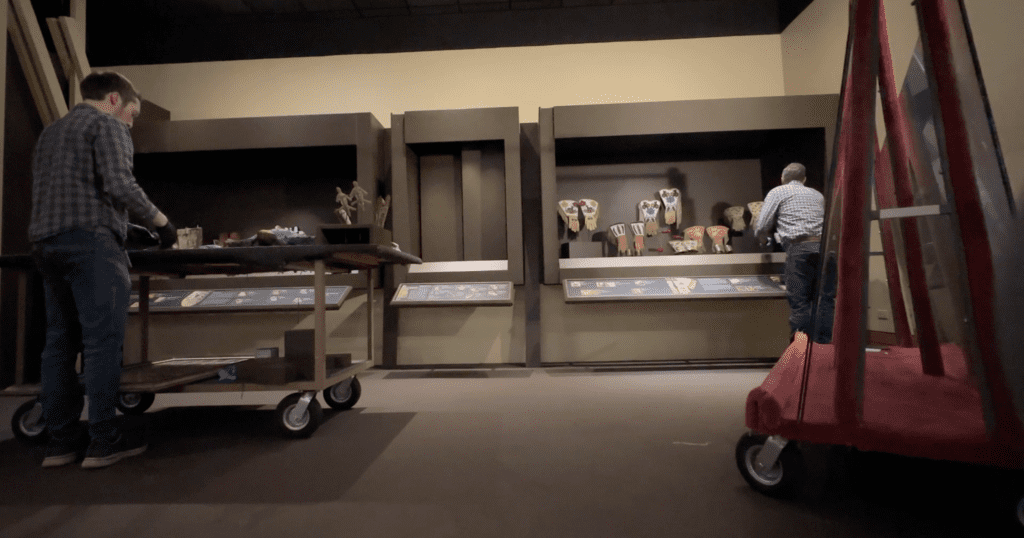
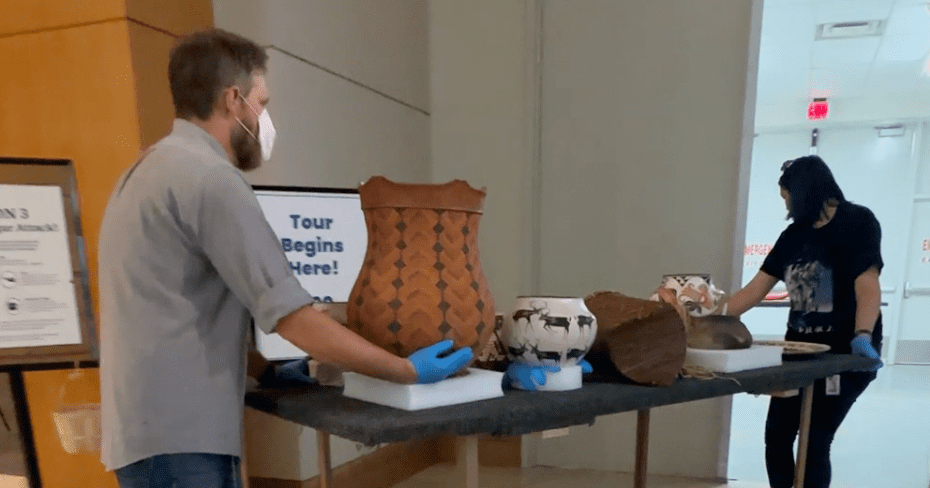
After the objects were removed from the cases, the boxes, stands and mounts had to be removed as well. Several tools were used for this job: drills, pry bars, and more.
One case was actually completely removed to make space for an education center for children to participate in hands-on activities.
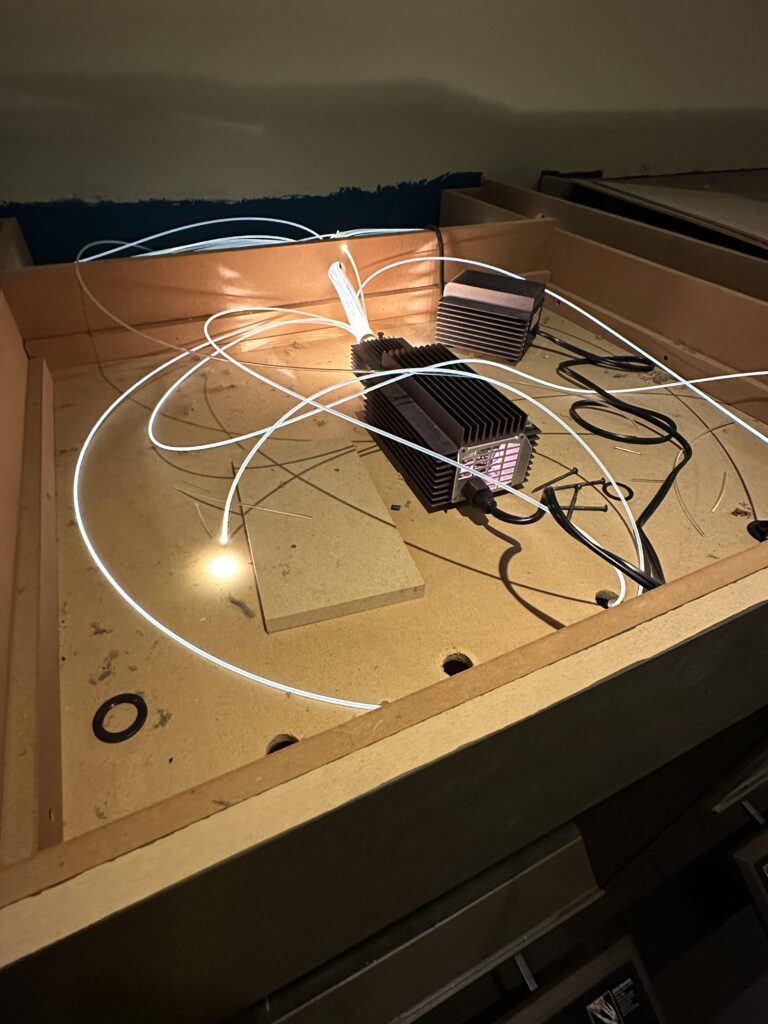
While this was being done, the lighting was also updated. The new lighting is more sustainable and makes the room look brighter. The old lighting system is pictured below.
After the lighting was updated in the cases, Michelle (the Museum painter) applied a new coat of light blue paint. This color makes the space look brighter and allows the objects to really stand out! Michelle did an amazing job! The boxes and stands also had to be painted to match the light blue walls.
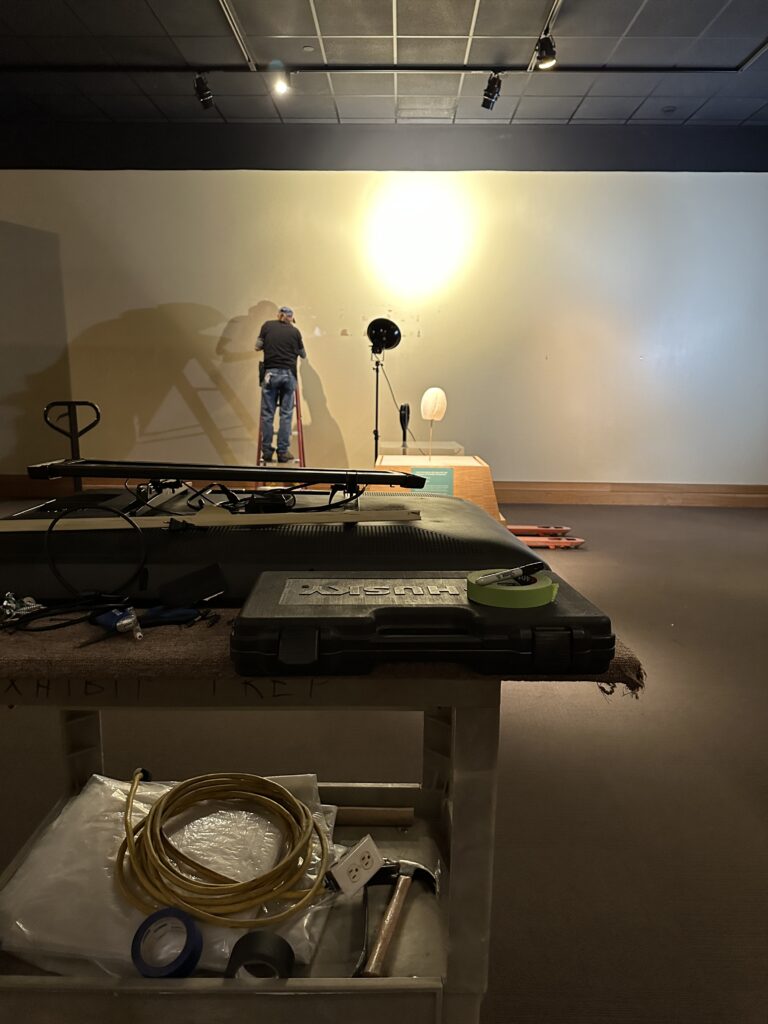
After the paint dried on the boxes, they had to have felt pieces applied to the bottom corners. These felt pieces prevent the boxes from sticking to the deck and ripping up the new paint. It also allows the boxes to be adjusted within the case without having to pick them up – which is very helpful when looking at the aesthetics of a case.
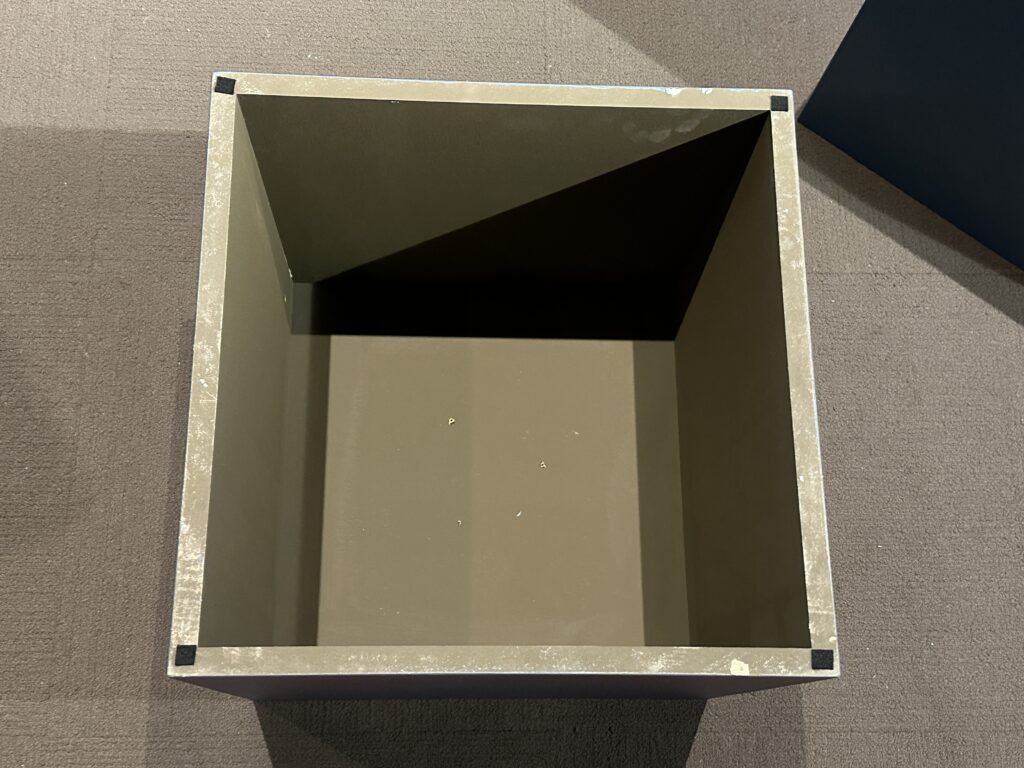
Next, the glass had to be cleaned. Moving the glass panels left some pesky fingerprints, dust and tape residue which had to be removed. Standard glass cleaner was applied to paper towels and then the glass panels were wiped down. The cases looked amazing!
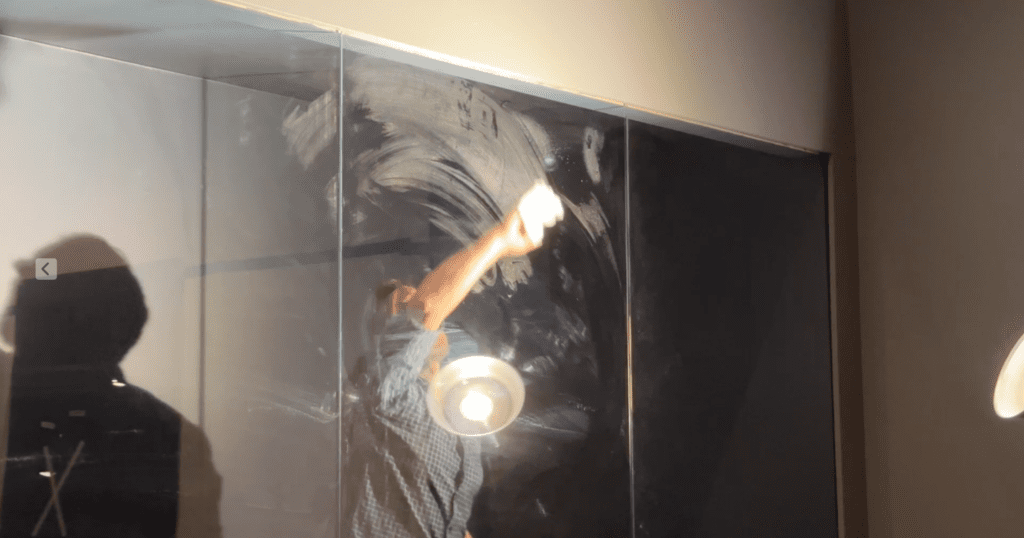
Once the paint dried, the boxes were fixed with felt, and the glass cleaner was completely dry, it was time to start moving objects back in the Native American Gallery space. The curatorial staff took items back into the galleries on the carpeted carts.
Parking the carts in the middle of the room, Singleton and his team surveyed the cases, discussing what would look best where… This wasn’t an easy task, and much thought went into the placement of every single item.
You’d be surprised how much thought goes into the aesthetic of each case in a gallery. The color and texture have to be perfect. If something didn’t look right, they would switch things around looking at things from every angle imaginable.
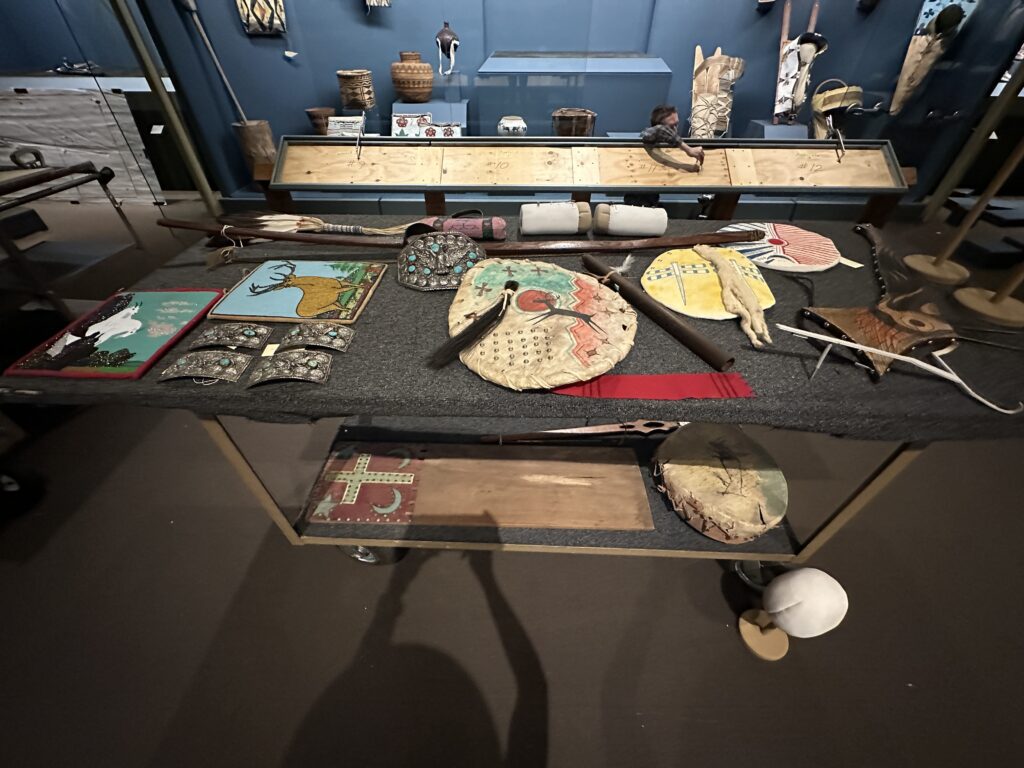
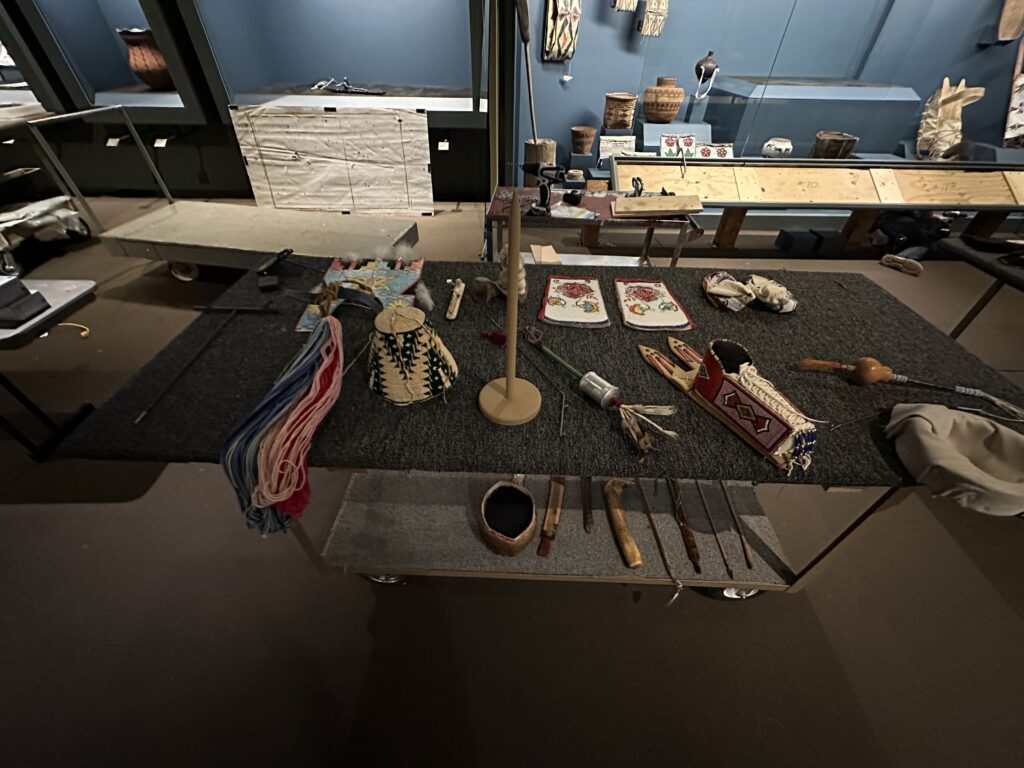
Once a place was decided for an object, a piece of mylar was cut to fit the shape of the bottom of the object. Mylar is a neutral, plastic-like paper that protects the object from the paint. It comes on a roll and looks similar to cellophane wrap.
The mylar is cut into the exact shape of the object. The EXACT shape. Once the curators place the object on the surface, you can no longer see the mylar – it disappears like magic.
Shhhh… don’t tell the curators I told you their secret! Mylar is only used for the objects that rest directly on paint and it keeps them safe.
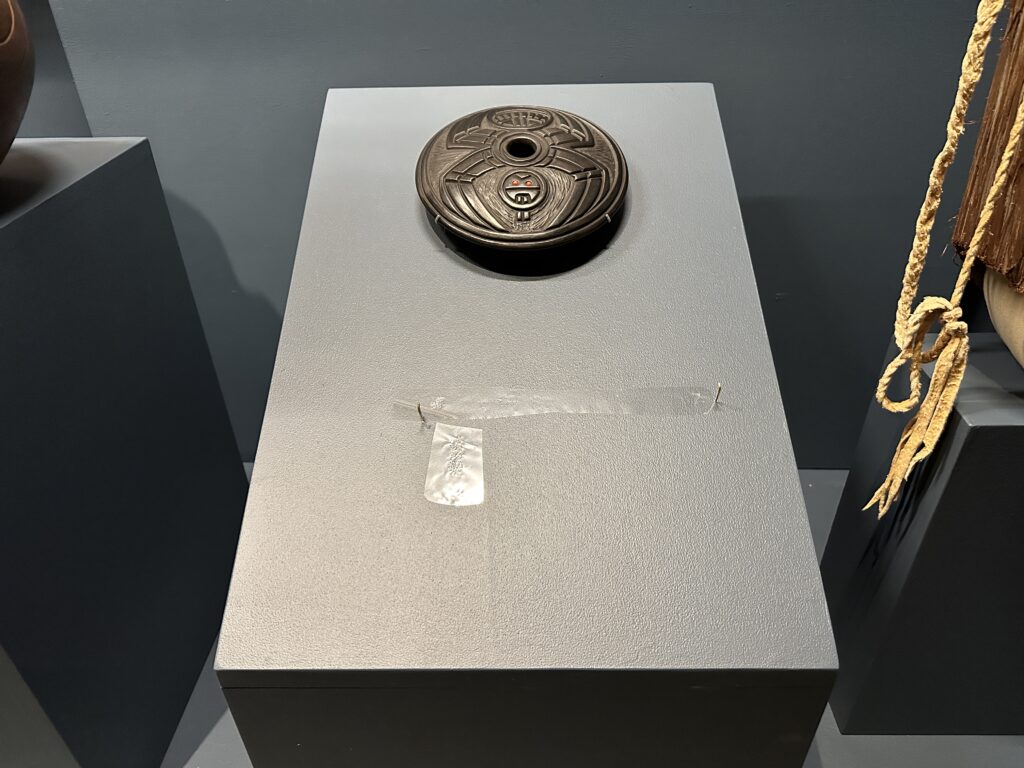
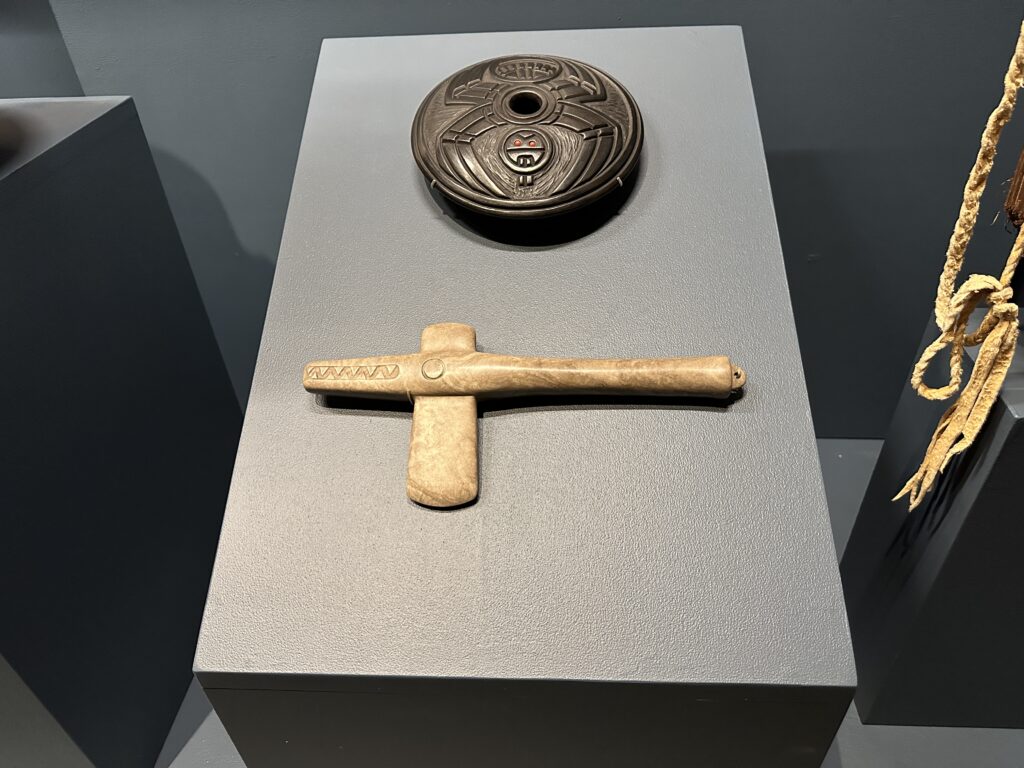
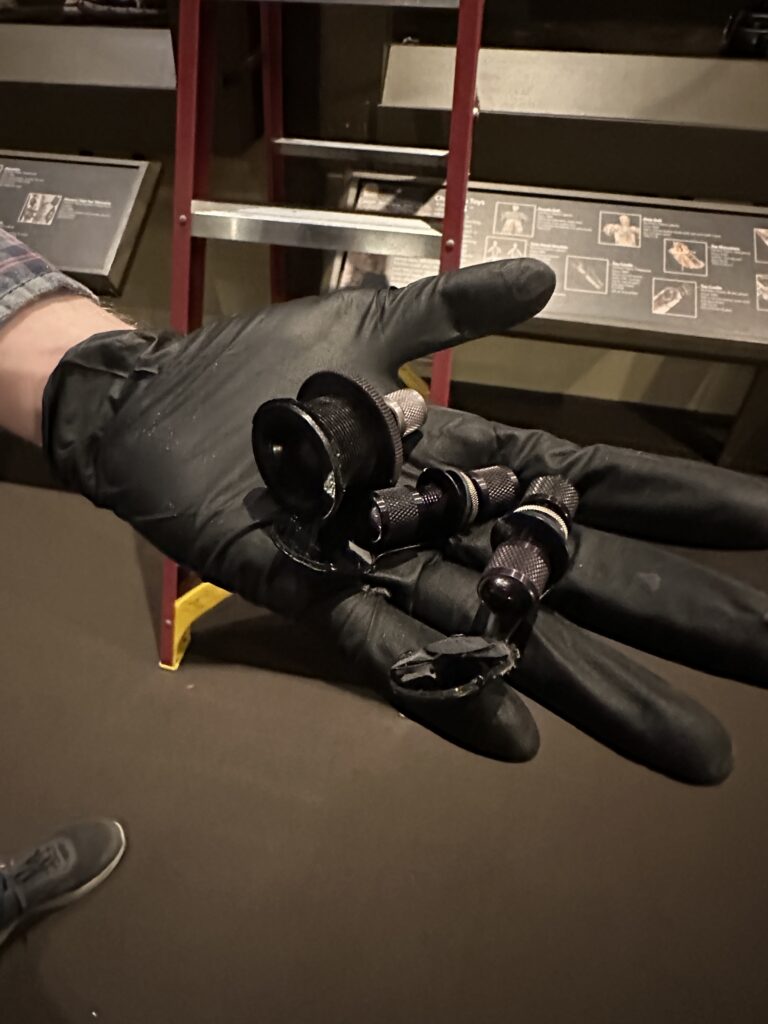
Lead Preparator, August Walker fashioned brass and acrylic mounts for all of the other pieces. The acrylic mounts are mostly used for flat pieces. The brass mounts have to hug the piece, so it doesn’t move.
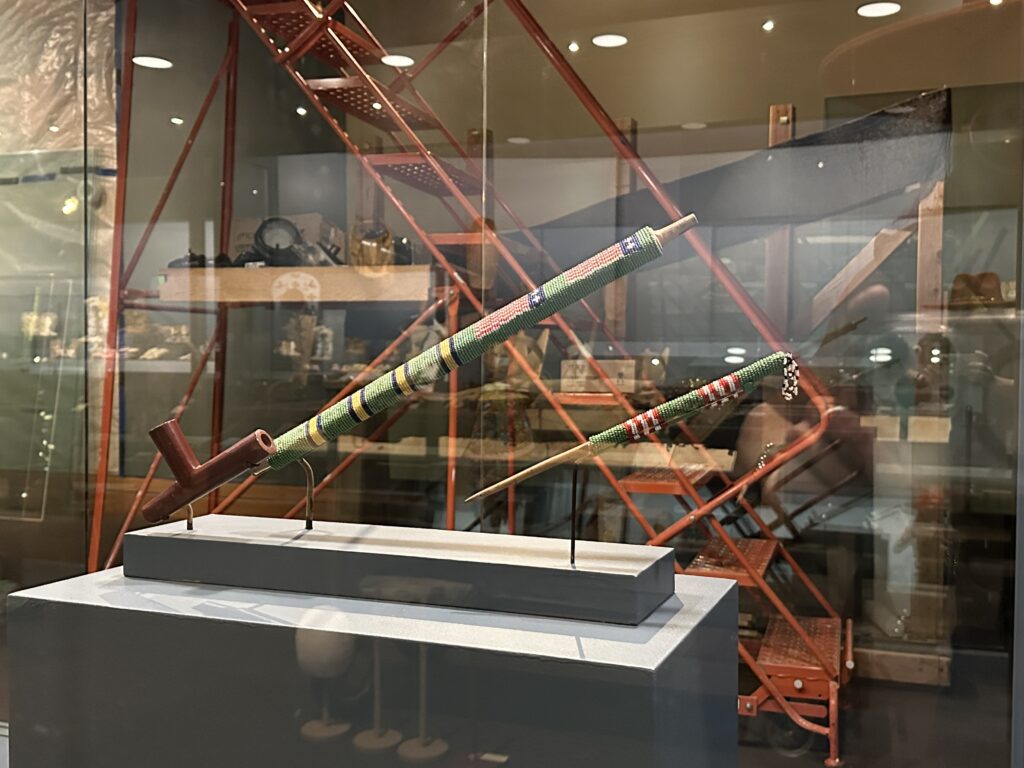
Walker said each brass mount must be made slightly larger than the object it holds so he can apply a layer of sueded polyethylene to the brass. The ‘poly-suede’ helps hold the object in place because it has a slight grainy texture to it. You can see the brown textured look on the inside of the mount above – this is the ‘poly-suede.’
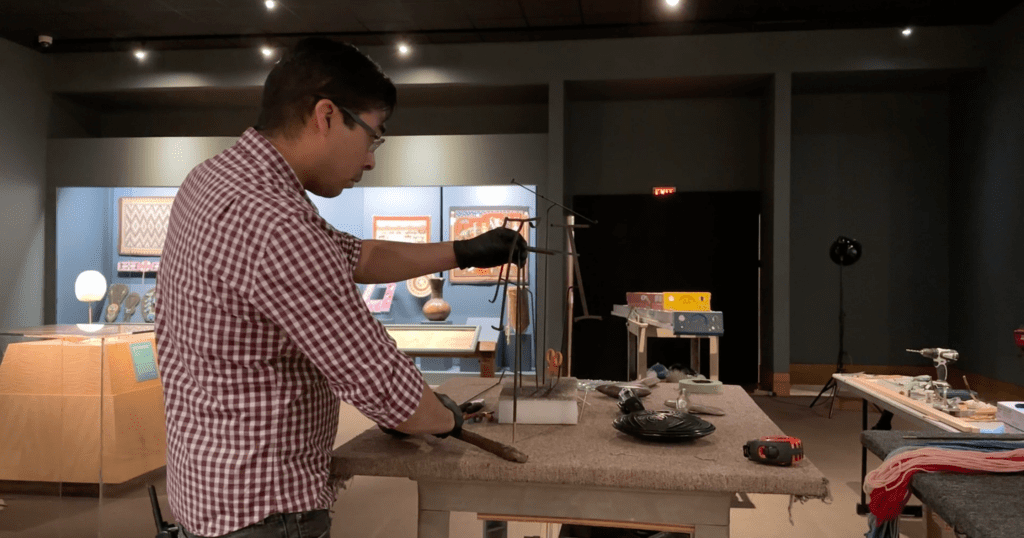
Mounts can also be hidden! Walker showed me how he painted the brass mount to blend in with the bead pattern on one of the objects. You couldn’t even see the mount once the object was placed!
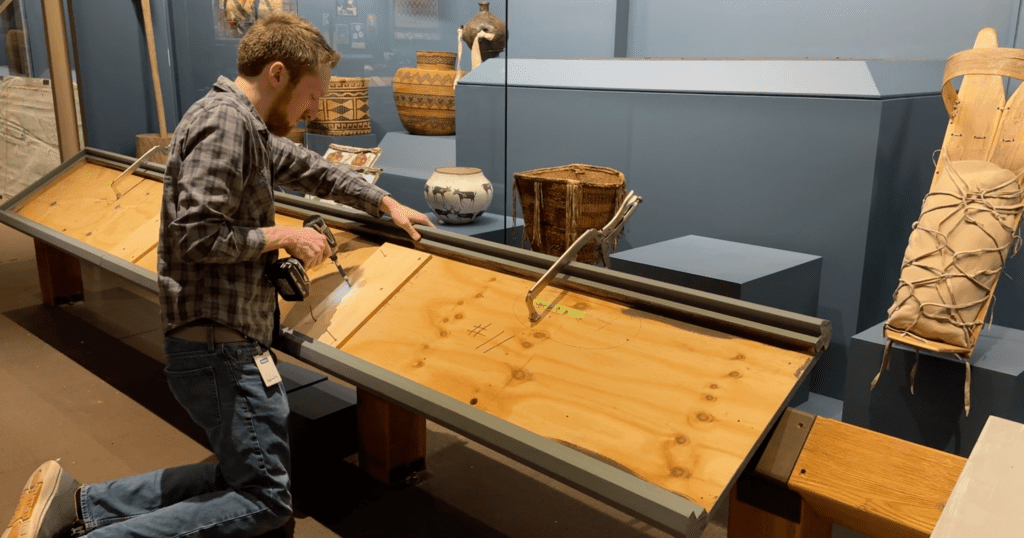
Preparator, Robbie Bowman and Woodworker, Bill Hull installed all the information panels – measuring each board to ensure they were all level. The original panels were split into four pieces which required a little bit of engineering to make sure they were all even. Bowman used large c-clamps to hold the panel in place while he used a drill to anchor them in place.
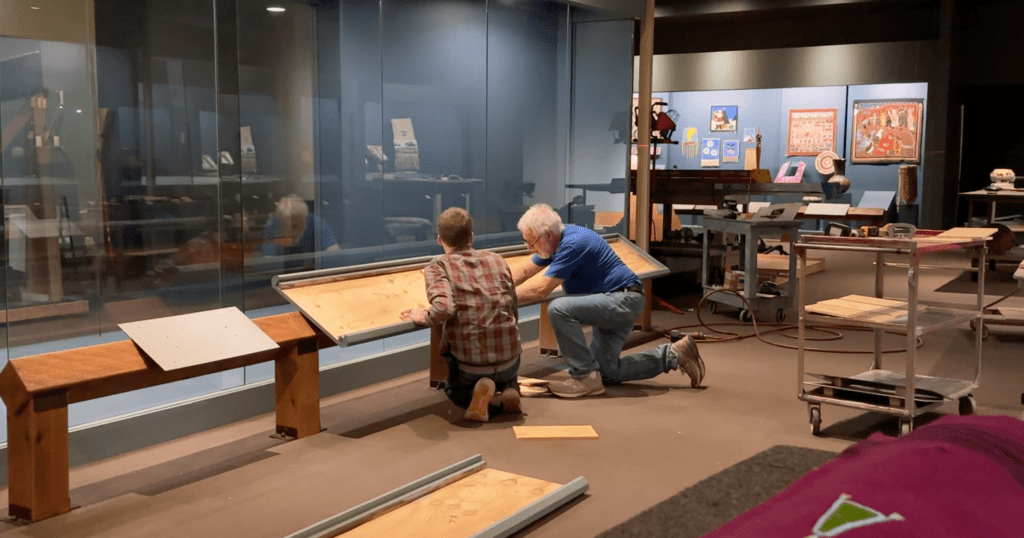
All of the previous steps were repeated for each case in the gallery.
Singleton wrote the text, selected images and created the corresponding color-coded map for all of the panels. I thought it was super cool that each object corresponds to a color on the map. If you look at the bottom of each picture, there is a color bar that tells you which region the object came from. It helps you see the diversity of pieces in the Museum’s collection.
Singleton and the team made sure everything looked perfect. They wanted to ensure Museum visitors have the best view of the objects, learned about the diversity of Indigenous peoples and have the best experience possible in the Native American Gallery.
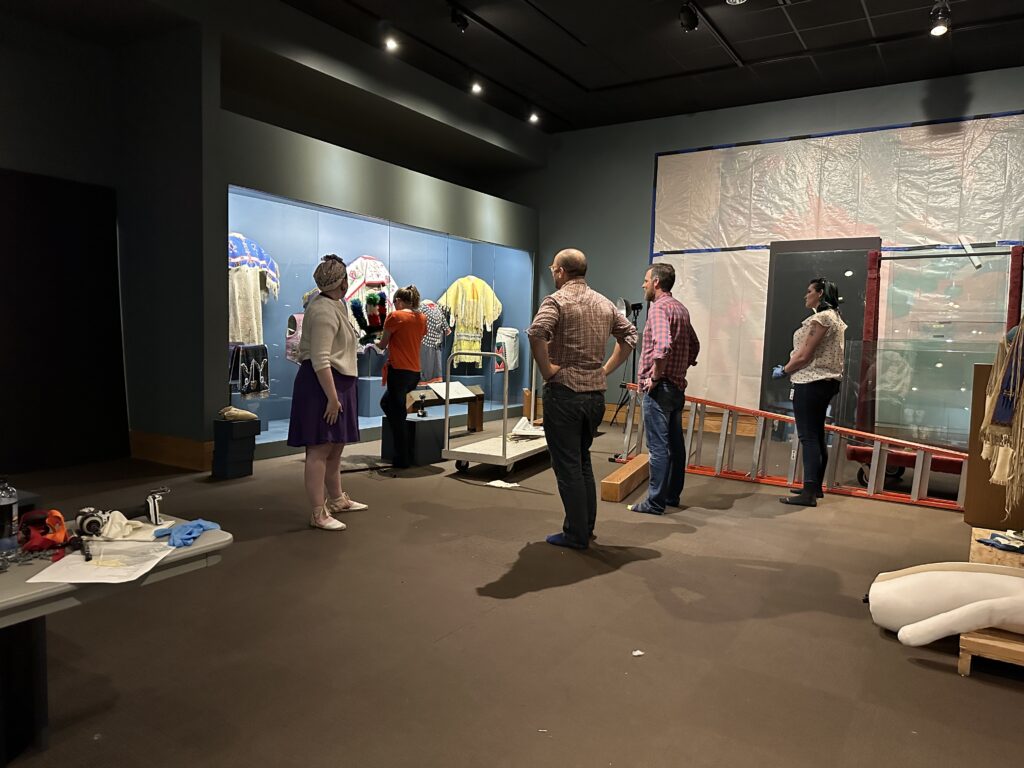
Thank you to the following people:
Renovating a gallery takes a lot of work from several people and we’d like to give them a shoutout here!
Eric Singleton, Ph.D.
August Walker
Robbie Bowman
Nathan Jones
Samantha Schafer
Bill Hull
Michelle Cox
Also, a huge thank you to Museum interns, Trista Wilmot and Camryn Poe, for all of their hard work.
Are you interested in learning more about the process of updating a museum gallery? Watch the video below to see the process from beginning to end, hear from Singleton and the preparators, and see a sneak peek of the space!
Concluding Thoughts
You can visit the newly renovated Native American gallery Monday through Friday from 10:00 a.m. – 5:00 p.m. or Sunday from Noon – 5:00 p.m.
As my time in the Native American Gallery came to a close, I asked Singleton if there were any pieces that people should look out for and he gave me the following list.
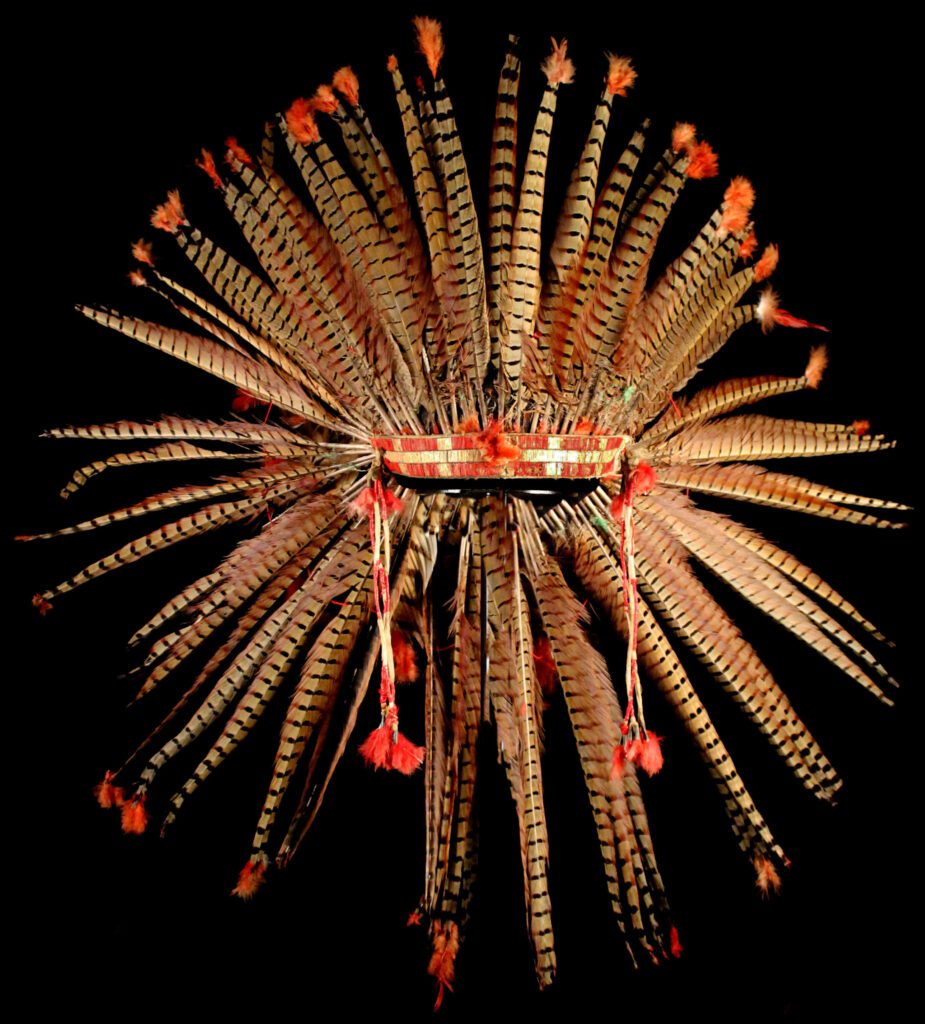
- Ring-necked Pheasant Feather Headdress. Northern Plains, Lakota, circa 1895. Feathers, felt, porcupine quills, hackles, cotton, sinew. Gift of James O. Aplan, National Cowboy & Western Heritage Museum. 1983.07.01.
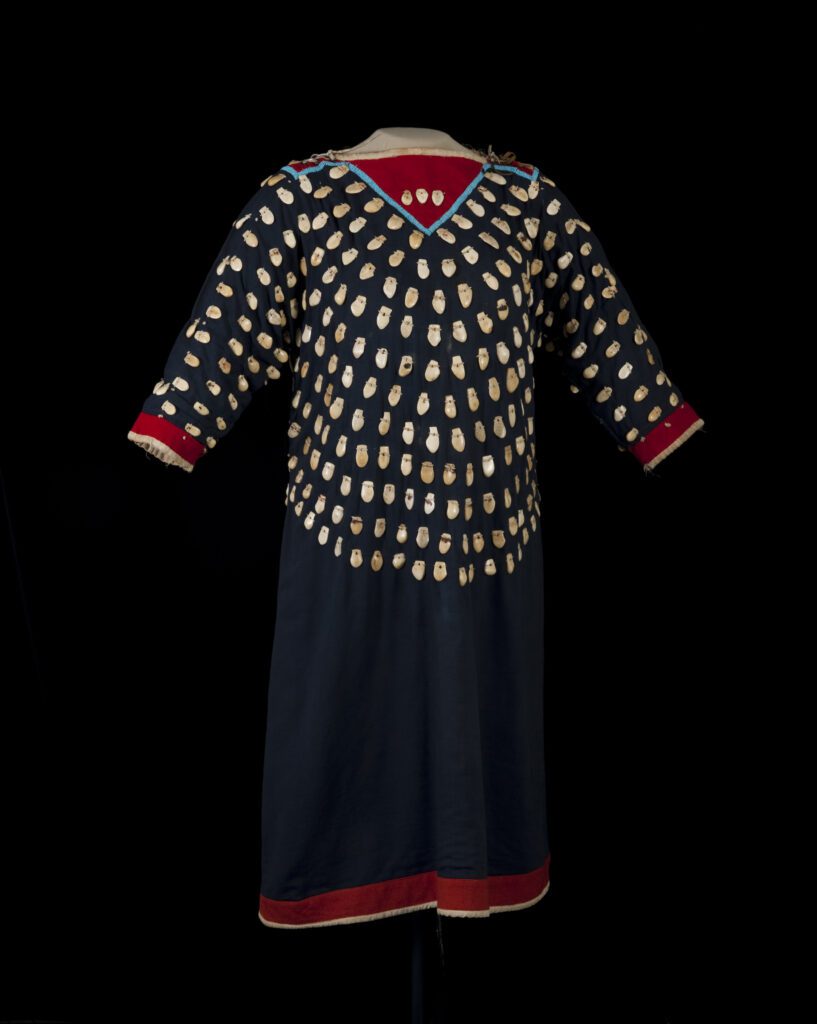
- Elk Tooth Dress. Northern Plains, Crow (Apsàalooke), circa 1920. Stroud cloth, bone, elk teeth, string. National Cowboy & Western Heritage Museum. 1983.06.13.
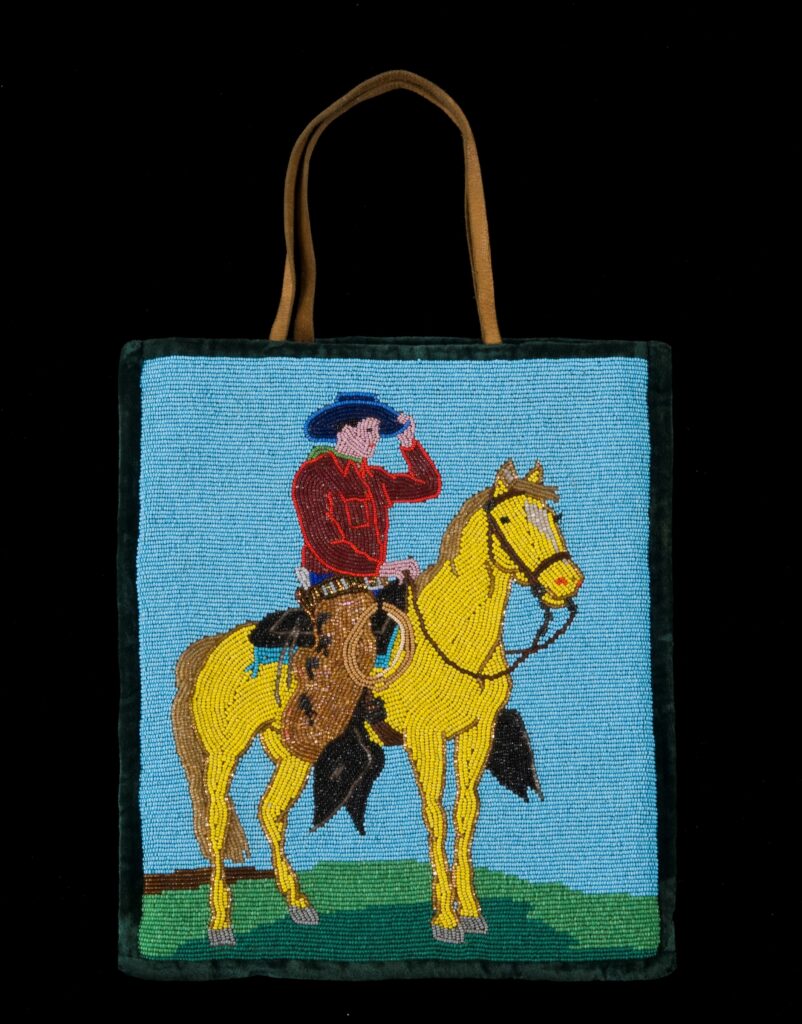
- Cowboy Flat Bag. Plateau, circa 1950. Leather cloth, glass beads. National Cowboy & Western Heritage Museum. 2007.6.1.
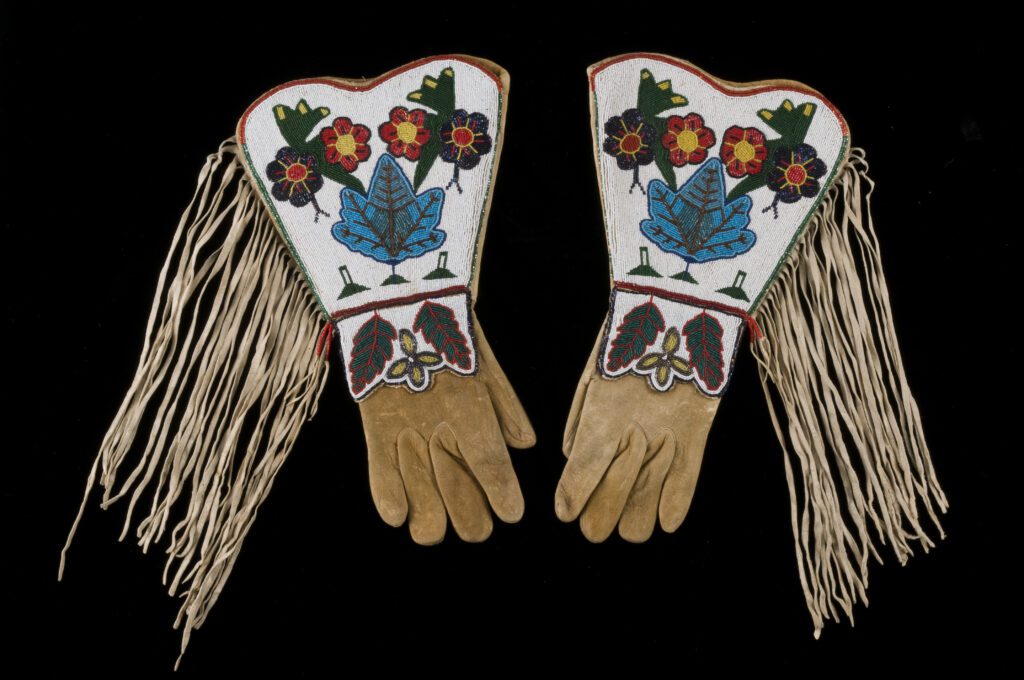
- Gauntlets. Northern Plains, Rocky Boy Cree, circa 1940. Leather, cloth, glass beads. Joe Grandee Collection, National Cowboy &Western Heritage Museum. 1991.01.0956 a,b.
- Shield. Vanessa Jennings (Kiowa), 1990. The Arthur and Shifra Silberman Collection, National Cowboy & Western Heritage Museum. 1996.27.0751.
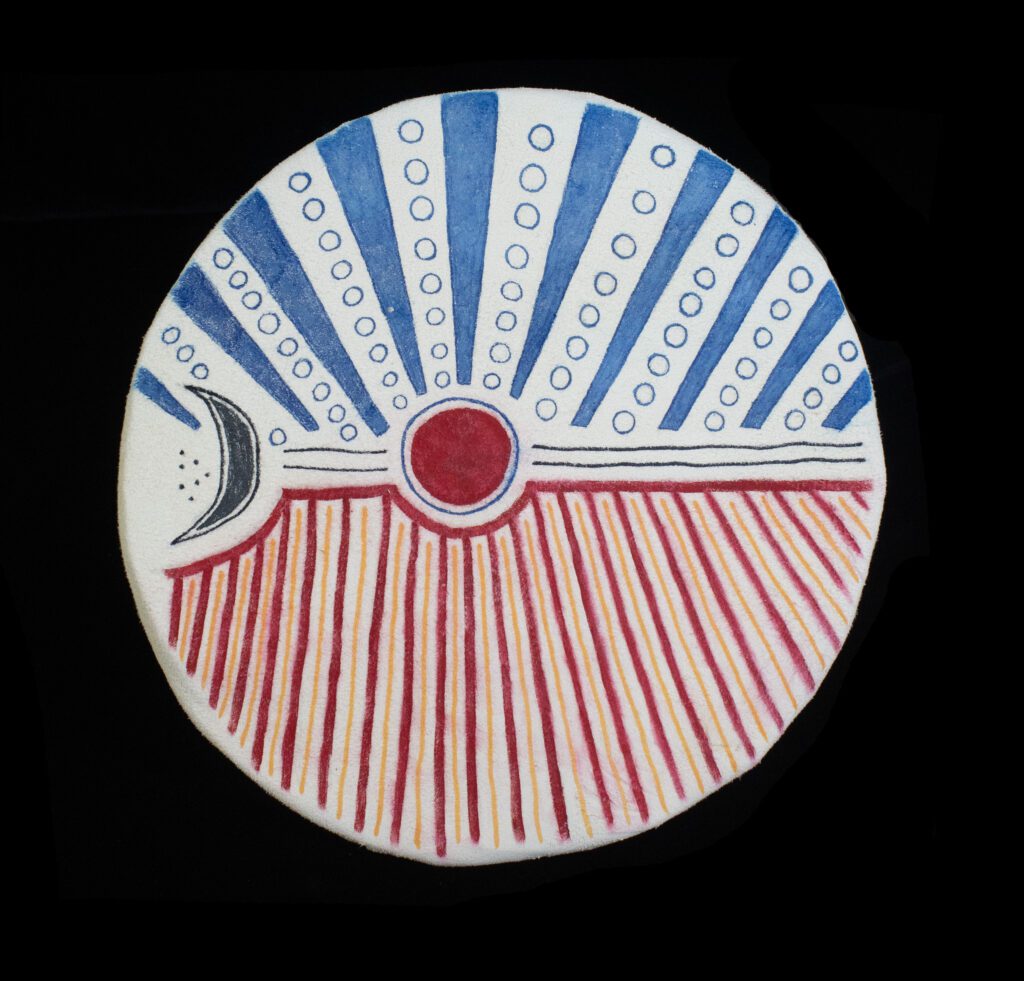
We can’t wait to see you at #TheCowboy!
Sources:
Bobby D. Weaver, The National Cowboy & Western Heritage Museum: Changing Visions of the West (College Station: Texas A&M University Press, 2020).
People Consulted:
Eric Singleton, Ph.D.
August Walker
Robbie Bowman
Nathan Jones
